Information Covered
Step-by-step how to set up a jungle plant grow bin, basic care instructions, and tons of pro tips and advice!
00:00 – Start
00:28 – Bin selection
00:47 – Substrate
03:12 – Planting the plants
05:46 – Microfauna
06:15 – Labeling the bin
06:41 – Rack and lighting
07:17 – Other care
You might also like the unboxing video for these plants, and the three month growth update video.
Steps
#1. Bin Selection
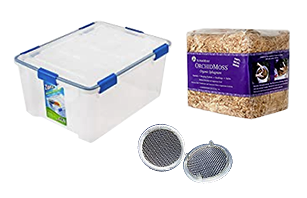
For the biggest jungle plant from the Buceplant order, I’m going to use the largest bin that I have available and can fit in my plant room.
This one already has ventilation set up, which you can learn about in my grow bin tutorial series. I’ll probably be closing off most of the ventilation with duct tape to maintain higher humidity.
For the rest of the smaller plants in the group, I’ll be using a medium-sized bin.
#2. Substrate
Note that whenever I plant things, regardless of whether it’s in a grow bin or a pot or anything else, I customize the substrate to the needs of the plants in question.
Since most of these plants are relatively new to hobby, compared to more common vivarium plants, there isn’t a lot of information available about their culture preferences.
In this case, I decided to make an experimental custom dirty sphagnum substrate mix. Dirty sphagnum is just sphagnum with some potting soil mixed in, but I wanted to make this batch with a lot of different ingredients for improved aeration, drainage, pH, and other attributes.
The ingredients I used are partially based on a bit of research, and partially based on my gut instincts and experience with plants over the years.
Sphagnum
Sphagnum is a great acidic substrate base for a lot of tropical plants.
It’s fluffy and moist, which promotes good root growth and keeps moisture loving plants hydrated.
Soak it in distilled water until saturated, then firmly squeeze out as much water as you can, so it’s fluffy and slightly moist.
Some people prefer to spend more and get premium Sphagnum, but i’ve always used medium quality and haven’t had any issues.
Pinus radiata bark / Orchiata (small grade)
Pinus radiata bark is an acidic substrate.
Just a couple of its many benefits are that it contains beneficial microorganisms, and is quite long lasting.
Monto Clay
Monto Clay is a calcined clay, which means it is fired at high temperatures to harden it.
It has an acidic pH, increases friability, and can improve a substrate mix’s nutrient retention.
Perlite
Lately I’ve been adjusting my substrate mixes to be freer draining and more airy. Perlite is excellent for this, but for the best results I recommend spending more to get a better quality, more coarse grade.
Perlite has a neutral pH.
Happy Frog potting soil
Happy Frog is an outstanding potting soil which has beneficial microbes and fungi, and lots of other great ingredients and nutrients.
Leaf litter
In this case I’m mixing willow oak leaf litter into the substrate which will slowly release nutrients as they decompose. They’ll also temporarily improves aeration and promote micro fauna colonies to flourish.
I added all of those substrate ingredients onto the initial Sphagnum base, without measuring them.
I just guessed what I think will work well for these plants, partially based on a bit of research, and partially based on my gut instincts and experience with plants over the years.
Next I thoroughly mixed everything together, ensuring all of the substrate ingredients are equally distributed, and then I leveled everything out in the bin.
For more instructions and tips for grow bins, check out my detailed grow bin tutorial series.
#3. Planting the plants
Thanks to the Buceplant.com team for generously sharing the beautiful plants featured in this video, including the huge Labisia sp Turtleback.
After unboxing, I misted the leaves and let the plant sit in water for a couple of hours to help it rehydrate.
When ready to plant, I dig a space out for the roots and insert the plant.
When adding plants to a bin, I think about a lot of factors, most notably:
- how large the plant is
- how fast it grows
- what its growth habit is
In this case, since the plant is large and has a wide leaf span, I’m positioning it in the middle of the bin to give it as much space as possible.
At the moment, the leaves on this specimen are positioned to the side a bit. I’m making an assumption that some of the leaves will probably reorient themselves over time toward the light.
I pack some Sphagnum under the stem as needed to help position the plant at the angle I want.
I’m going to plant the other species in a separate container, so I still have a bit of free space around the Turtleback plant.
I’m adding a variety of rare miniature plants, and moss and liverworts, which will eventually create a ground cover under the main specimen.
I do this to increase my stock of small rare plants, favorite plants, and moss which I can eventually use for terrariums.
Something very important to note is that I put all new plants through a quarantine period, regardless of who I got them from or how healthy they look.
Any other plants that I add into the bin are effectively now entering the same quarantine and are at the same risk if a pest or disease were to come up.
For that reason, I would never put any one of a kind plants or anything else that I would not be willing to let go of should an issue arise that I can’t remedy.
Note that when planting smaller cuttings and those with no roots, I firmly wrap the end with sphagnum and then insert the bundled stem into the main substrate layer. Then I gently firm the substrate down around the cutting. This helps ensure better contact of the substrate on the stem, which will support hydration and root development.
Then I give one more round of firming down the substrate around all of the cuttings, and place a few pieces of sphagnum over some of the exposed stems.
There are links below to all of these plants on the Buceplant.com website.
#4. Micro fauna
Next I’ll add micro fauna which are often called “clean up crew” because they eat decaying matter and maintain a healthier environment for plants.
I prefer to diversify the ecosystem by using a combination of both springtails and isopods.
I’m adding springtails which I culture in deli containers, and I’m adding dwarf white isopods (Trichorhina tomentosa) which I culture in plastic shoe boxes.
For more info on microfauna, such as how to culture springtails and dwarf white isopods, check out my videos on those topics.
#5. Labeling the bin
I find that it’s best to label right away so I don’t get behind on it.
I use one label to note the date that the substrate was first set up (or last refreshed), which helps me keep track of how old it is and when it needs maintenance, and then I use more labels as needed to note the plant id’s, origins, sources, and dates obtained.
“Date obtained” is extremely important because I can keep track of the quarantine period and other time based data.
#6. Rack and lighting
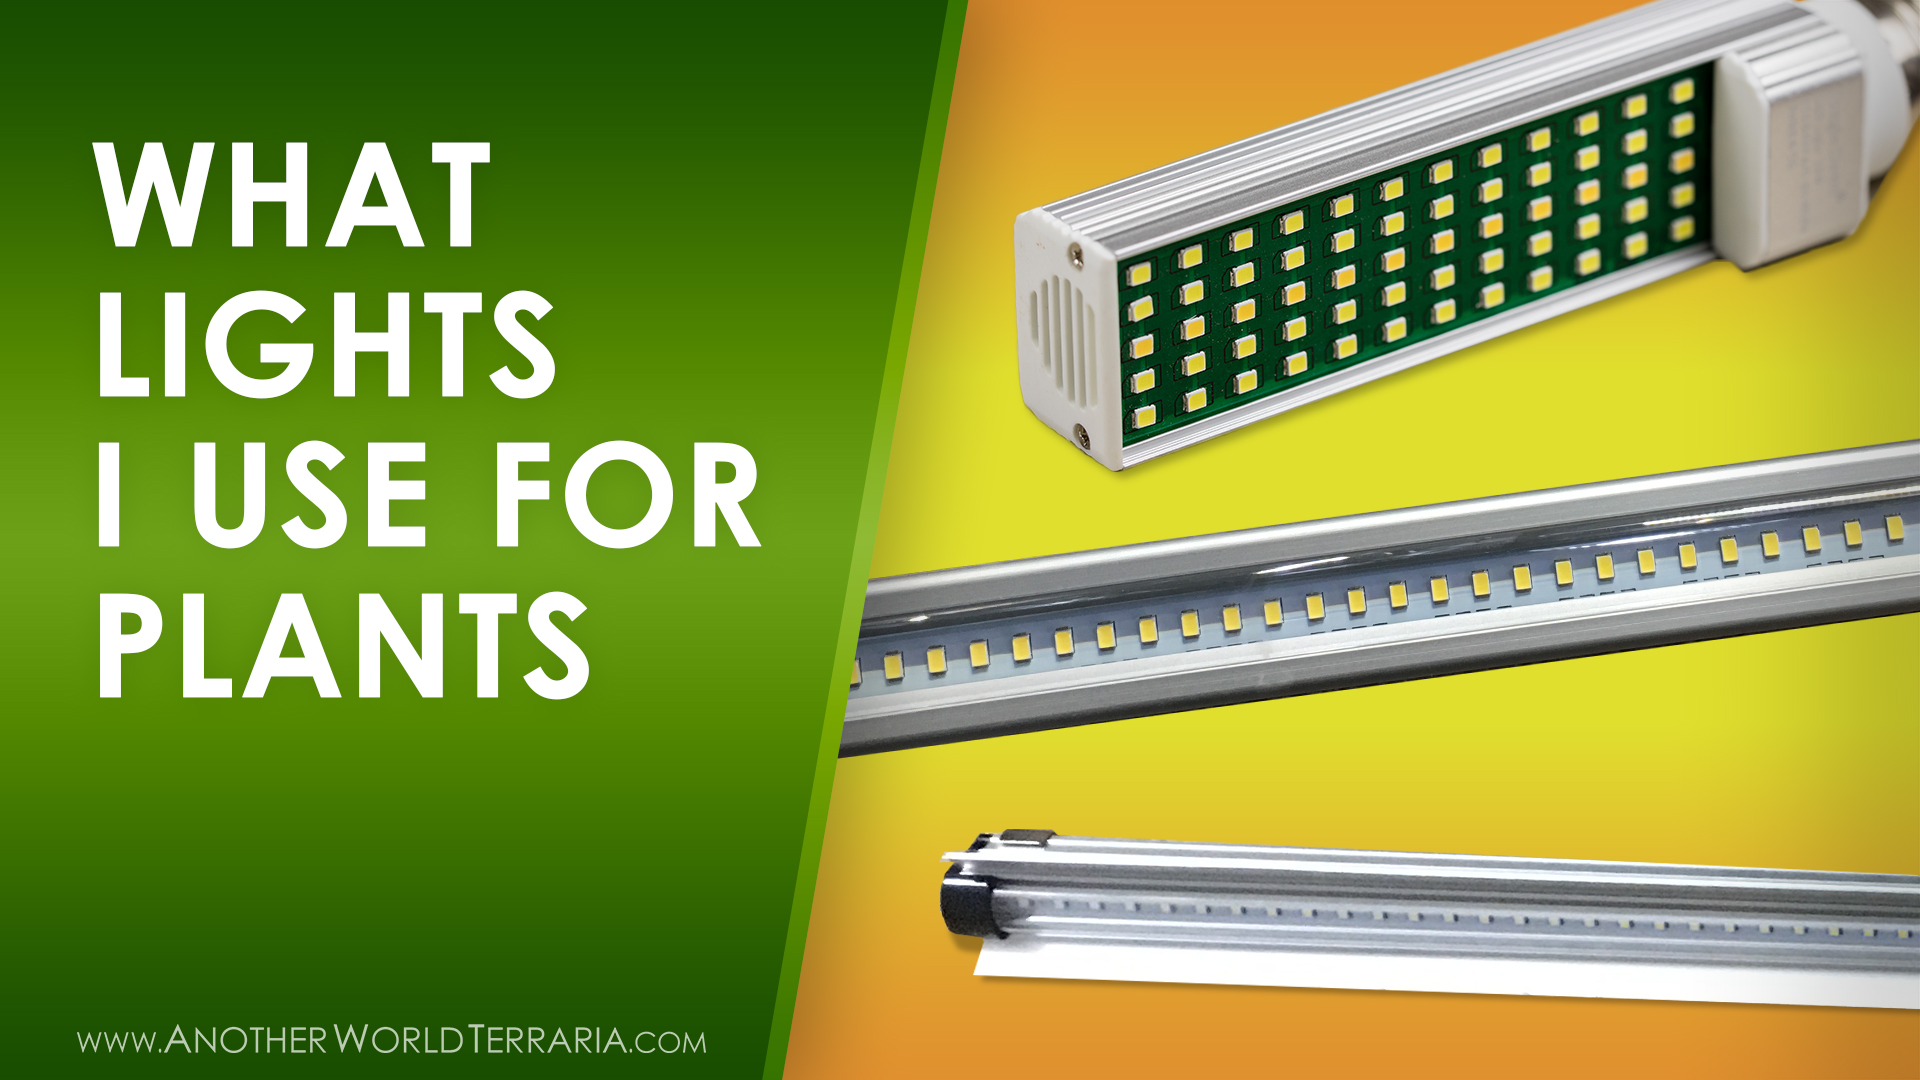
I’ll be growing these plants on the typical wire rack setup using the under-cabinet LED strips that I use for the majority of my collection.
For more detailed info about the main types of plant lights I use, check out my lighting video.
#7. Other care
Light Levels
I’m going to keep these plants at a relatively low light level because most or all of them likely grow in shaded forests where the light isn’t very bright.
Additionally, especially in the beginning, I don’t want to shock them or promote too much foliage growth during the acclimation period while they are adjusting to the new conditions and trying to build root systems.
For those reasons I’m going to keep a bit of shade cloth over the bin to soften the light.
Humidity
These plants prefer high humidity, so I’ve adjusted the ventilation amount on the bins by partially covering the vents with duct tape. Tape is a great way to adjust ventilation on bins which already have holes or vents, since you can position it at any level to fine tune the humidity and air flow.
Watering / Misting
As with all of my plants, I’ll be watering with distilled water, which is very pure and doesn’t have minerals or chemicals which can harm sensitive plants over time in an enclosed space.
Since the bins are very humid and almost completely sealed, and the substrate is moist, I will most likely not need to water the plants very often.
I water and mist plants per whatever the particular species prefer, and I do so by keeping tabs on the substrate moisture levels.
I never water on a schedule because it doesn’t take into account the actual conditions at any given time. Instead I look at and feel the substrate to determine when to water, and how much.
Fertilizer
I’m betting that these plants come from an environment which is probably not very dense in nutrients, which is also the case for many other tropical plants I grow. For that reason I will not be fertilizing these jungle plants until I see signs that they might be hungry. The substrate mix I used has plenty of nutrients to start with. That said, if you’re interesting in learning more about fertilizing tropical plants, check out my fertilizer video.


