It can be a pain when Sphagnum moss comes back to life, especially when growing miniature plants and using small containers. Learn how to sterilize the moss so it doesn’t grow back.
Why You Might Want to Sterilize Sphagnum Moss
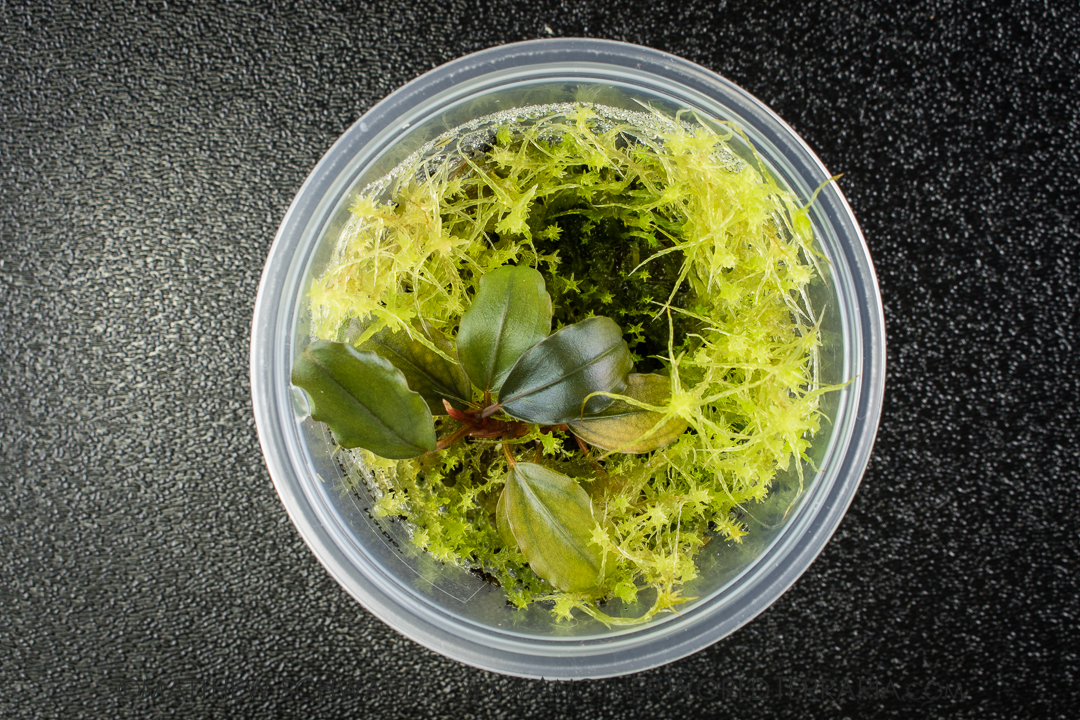
Sphagnum moss which has grown back from spores and is smothering a Bucephalandra plant.
Preventing Regrowth
Most horticultural Sphagnum contains the spores of mosses, ferns, as well as seeds of other plants which come to life after a few months. You usually won’t want them, especially if you’re growing miniature and micro plants, single-species moss cultures, and creating small terrariums.
Under the premise that you are primarily interested in miniature plant species and bryophytes, here are some of the reasons why you might want to sterilize substrate:
- Miniature plants are easily smothered by live Sphagnum and other aggressive mosses which often germinate from spore found in substrate
- We don’t want invasive types of moss, plants, ferns, and so on in our collection because of their appearance, and how rampant they can be
- We may want a monoculture of a particular moss, liverwort, or other plant species, which is made difficult if we have to constantly pick out germinating invaders
- The miniature terrariums and other small containers that we might grow these plants in can be quickly overrun by unwanted plants and moss.
Sterilization for Reuse
Sterilization is also wise if you want to reuse Sphagnum. There are two primary cautions with this practice:
- Make sure the Sphagnum is not too decomposed or heavily laden with algae or slime mold. If it is, it’s best to trash it.
- If the Sphagnum was in contact with or in the area of plants that had a fungal, viral, or bacterial infection, or had an infestation of pest insects, it’s best to bag it and throw it away. Sterilization is not 100% effective, especially when done at home in a microwave, so it’s better to be safe than sorry.
The difference between Sterilization and Disinfection
Disinfection kills harmful organisms from surfaces (for example, spraying a kitchen countertop with a cleaning spray), whereas Sterilization is kills all organisms throughout a material or object (for example, when an autoclave is used to process medical equipment). Sterilization is much more thorough and will destroy all living things (whether harmful or not), and is the process of choice when you want to kill spores, seeds, eggs, larvae, and so on.
Important note
The microwave sterilization process shared here is unlikely to be 100% effective in all cases, because the temperatures and irradiation necessary for sterilization may not reach all surfaces in which organisms could be present. This is particularly true in the case of thick or dense areas, air pockets, and other conditions which prevent penetration of the sterilizing elements.
That said, for the purposes of general horticulture, microwave sterilization of substrates will probably be good enough most of the time, is relatively safe, easy to do, and has a minimally negative effect on the substrate.
Disclaimer
The information shared here is not to be interpreted or construed as professional advice. This information is for entertainment purposes only. You assume all risks and responsibilities when following any of the information presented here. The author may not be held accountable or liable in any way for any negative results, losses, or damages, as a result of anyone using this information.
How to sterilize Sphagnum moss
What you’ll need:
- Sphagnum moss to be sterilized
- Microwave-safe glass bowl
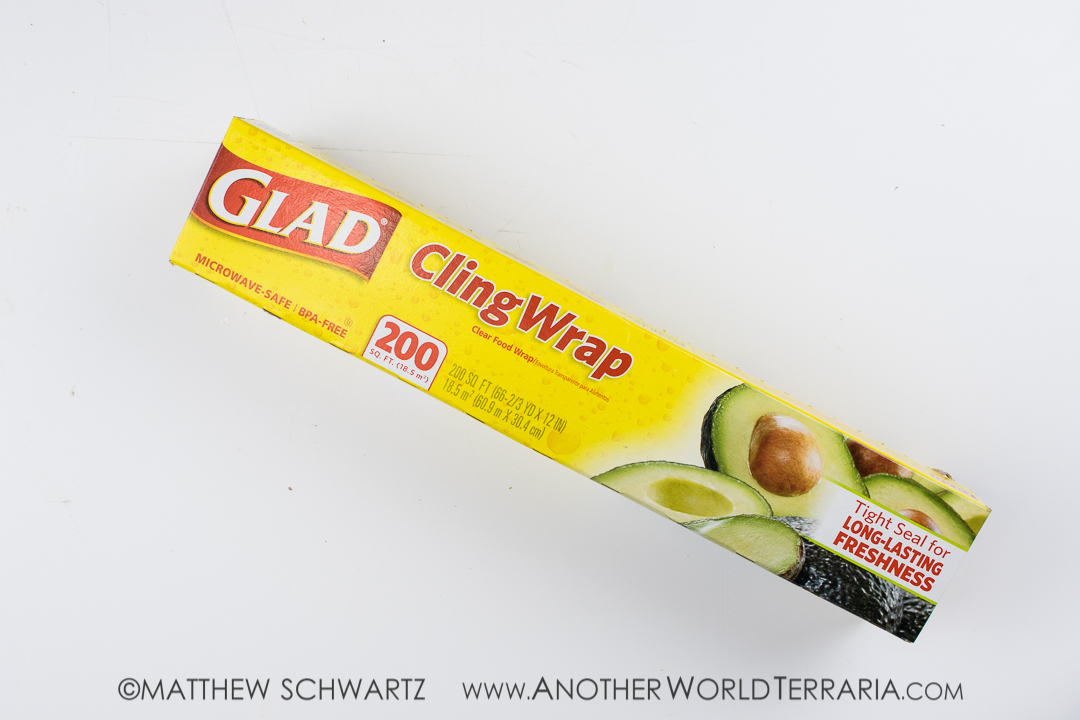
- Plastic wrap
- Distilled water
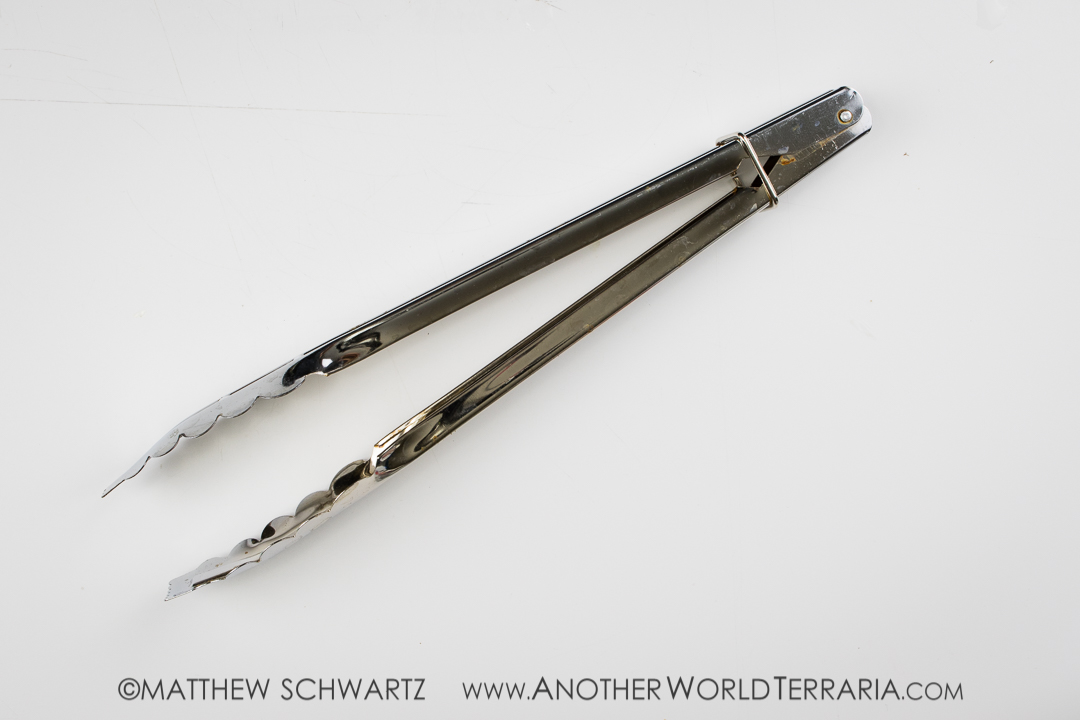
- Kitchen tongs
- Oven mitts
- Safety glasses
Cautions
The following cautions are NOT a comprehensive list of all possible dangers, but merely a few of the more prominent safety issues:
- It is possible to be burned by boiling water, steam, and hot glass, so use proper equipment, and be careful.
- Ensure that there is no gravel, rocks, or other potentially explosive objects in the materials to be microwaved
- Make sure you use a glass bowl and that it is microwave-safe. Do not use plastic containers because they can release harmful chemicals, and tend to warp when exposed to high heat and irradiation.
- Be aware that this procedure could possibly void your microwave’s warranty, or damage the unit due to the amount of moisture that is released. I’ve never had a problem before, but it’s something that could happen in rare cases so take that into consideration.
Steps to sterilize Sphagnum
Note: The duration of microwaving, and number of stirring cycles may need to be increased for larger batches of Sphagnum. It’s best to do small amounts, which will help the water boil faster and the heat to penetrate throughout the moss.
- Place a small amount of the Sphagnum in a glass bowl
- Pre-soak the Sphagnum in distilled water until it’s completely saturated. To speed the process, you can repeatedly squeeze and knead the moss while submerged in the water.
- Next, add enough distilled water to cover the Sphagnum
- Snugly seal the bowl with plastic wrap
- Microwave on full power until the water boils, then continue the boiling for two minutes.
- Open the microwave door to vent the moisture buildup, but leave the bowl in the microwave for about 1 minute.
- Put on your safety glasses and oven-mitts. Carefully remove the bowl from the microwave and place on a sturdy, level, heat-safe surface
- Using the kitchen tongs, extremely carefully pull back the plastic wrap, avoiding the scalding steam, and being careful not to knock over the bowl.
- Stir the Sphagnum and flip it over, again being careful of steam and hot water splashes.
- Snugly apply more plastic wrap, being careful of steam and hot glass
- Microwave on full power. Once water begins to boil, keep it going for at least five minutes.
- Open the microwave door to vent the moisture buildup, but leave the bowl in the microwave for about five minutes
- Put on your safety glasses and oven mitts. Carefully remove the bowl, and place on a sturdy, level, heat-safe surface
- Leave the plastic wrap in place so the contained steam continues to sterilize, and let the entire bowl of Sphagnum cool to room temperature.
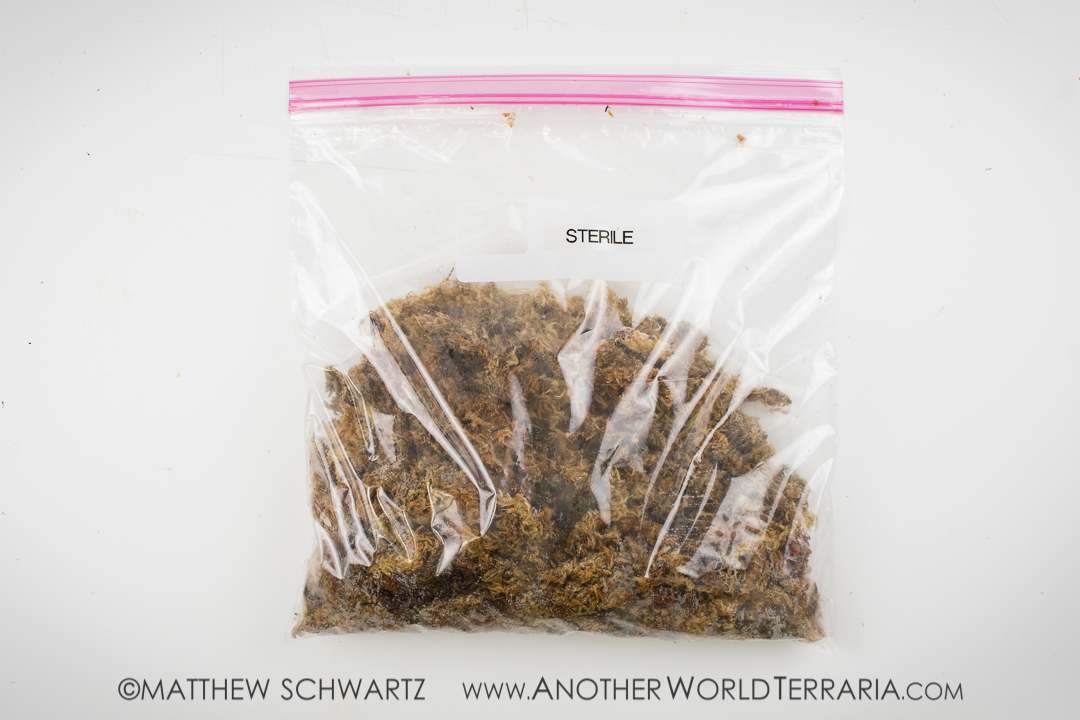
- When safe to handle, squeeze excess water out of the Sphagnum and then place the moss in a sterile plastic bag until ready to use. You may want to label the bag as “Sterile.”
Pro Tips
Reintroducing beneficial organisms
In most cases you probably don’t want your substrate to be totally sterile. Bacteria, insects, and other organisms play an important role in keeping the ecosystem healthy in nature, and this applies in horticulture and terrariums as well. It’s possible to reintroduce beneficial organisms by mixing in a bit of substrate from an existing grow bin or container, and by adding microfauna such as isopods and springtails. If you add substrate from an existing setup, be sure the source material doesn’t have any pests or disease.
Optimizing your use of sterile Sphagnum
A pro tip is to fill the plant pots with ½ non-sterile Sphagnum at the bottom, and only use sterile Sphagnum for the top ½. In general, the lack of light and the distance to the surface are enough to suppress any Sphagnum spores on the bottom from germinating. In this way you don’t have to sterilize as much, which saves you time and energy.
Storing your sterile moss
For extended storage and to reduce mold, I like to refrigerate the sterilized Sphagnum. I let it warm to room-temperature again before using it for plants.
Recap
- Sphagnum contain unwanted spores, seeds, and other invaders. These are even more of a problem when growing miniature and micro plants, or any time a controlled environment or constrained biodiversity is desired.
- Therefore, sometimes it’s necessary to destroy the unwanted organisms before they cause problems.
- Sterilization of Sphagnum in a microwave is relatively safe and easy, though some precautions must be taken and it is not guaranteed to be 100% effective.
- One problem with sterilization for horticultural substrates is that, in addition to killing the things you’re targeting, it also terminates beneficial organisms, so in cases where they are needed you’ll have to reintroduce them.
Share this if you found it helpful
If you found this information helpful, please share a link to this article on social media using the buttons below.
Questions or Comments?
Feel free to leave a comment if you have any questions or would like to share your experience trying these tips.


