In this video and article
- Explanation of why you would convert a nano lid
- Step-by-step how to, with tips and tricks
- See examples of nano terrariums, plants, and more
- Video Extras: notes about air circulation fans, lighting, and more
The benefits of converting the lid from mesh to glass
The Exo Terra Nano tank lid comes with a wire mesh material. The reasons why you might want to replace it with glass are:
- Glass maintains a higher humidity level, enabling you to grow tropical plants and moss
- Glass lets more light through to the plants than the screen does
How to convert an Exo Terra Nano terrarium to a glass top
Note: These instructions apply to the Nano terrarium, but may be applicable to larger sizes (adjust glass lid size accordingly)
What you’ll need:
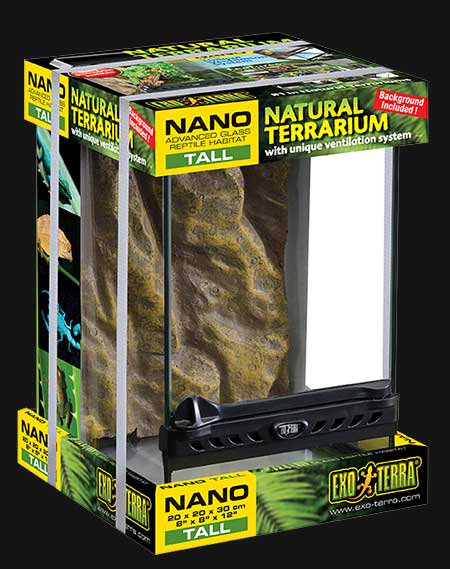
- Exo Terra Nano Terrarium (I recommend the tall 8″ x 8″ x 12″ because there’s more room for design and planting)
- Here’s the Exo Terra Compact Hood. (You don’t need it for this tutorial, but you’ll need it when you’re ready to add lighting to your tank.)
- Glass panel: 6 ⅝” x 6 ⅛” (6.625″ x 6.125″) @ 3/32″ (0.09375″) thick (I get it from Lowes.)
- Sturdy knife that won’t bend or fold up under pressure
- Needlenose pliers (I prefer the style that has curved tips – see video)
- Isopropyl alcohol (I put mine in a small spray bottle for ease of use)
- Paper towels
- Aquarium-safe 100% pure silicone (by Loctite) (don’t use silicone with chemicals, anti-fungals, etc)
- Gloves for working with silicone (I love these Dynarex Nitrile Gloves and use them for practically everything)
- Safety goggles
- Thick work gloves (to protect your hands from wire and glass)
- Work area with a smooth, flat, sturdy surface (work bench or table)
The steps
- Put on safety goggles and thick work gloves. Safety first!
- Remove the lid from the Nano tank by unlocking the rotating latches on the tank rim
- Using your knife, go around the rubber gasket on both sides to loosen it
- Use needlenose pliers to carefully pull the gasket out completely, working it with the knife again if necessary. To avoid breaking the frame, don’t pull too hard on the gasket.
- Carefully pull the mesh wire screen out of the lid frame. Wear your safety equipment to avoid injury.
- Wash the glass panel and then wipe it with isopropyl alcohol and a clean paper towel to remove any oils and residue which would interfere with the silicone bond.
- Apply a bead of silicone to the smallest diameter, innermost rim all the way around
- Place the clean side of glass down onto silicone. Press gently.
- Wait 24 – 48 hours minimum to allow silicone to fully cure. You shouldn’t be able to smell the silicone at all.
- Clean the glass with isopropyl alcohol on side that faces into the tank
- Put the silicone between the glass and the frame to create a better seal and bond.
- Wait 24 – 48 hours minimum to allow silicone to fully cure. You shouldn’t be able to smell the silicone at all.
- Put the lid back on the tank and lock it in place with the latches
Feel free to watch the video to see me do all of this.
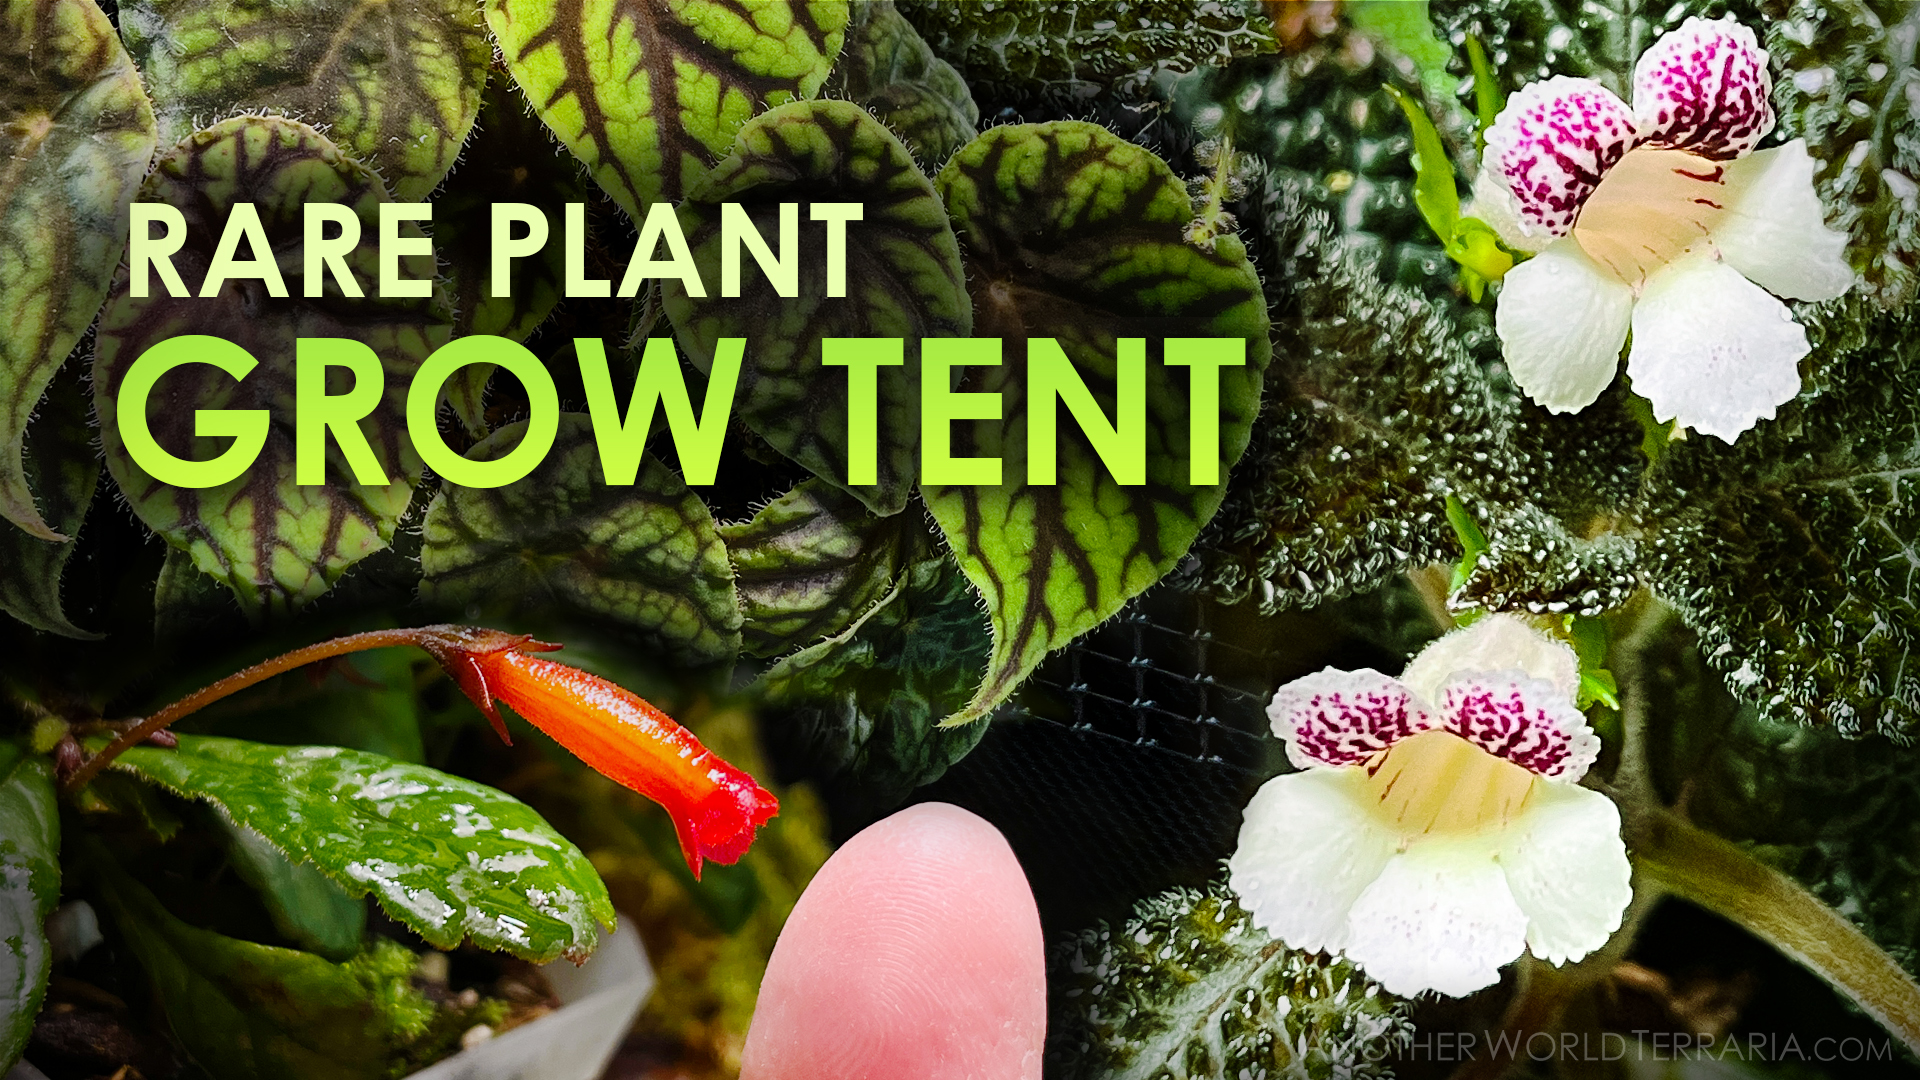
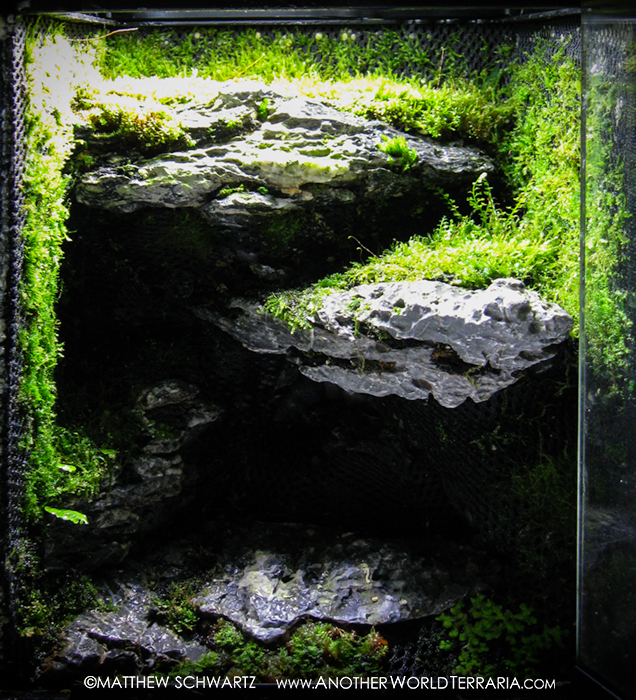
Now you’re all set to create an awesome tropical terrarium, complete with miniature plants, mosses, liverworts, wood, rocks, or whatever you desire!
A few quick tips:
Use a drainage layer under the substrate, such as LECA (Lightweight Expanded Clay Aggregate) or large diameter gravel. Make it deep enough to keep the substrate above the level of any water that fills up in the bottom of the tank. The substrate can be sphagnum moss, ABG mix, or whatever your research suggests.
I’d highly recommend LED lighting, but don’t get too bright of a bulb. Since the nano tank is short and small, it’s easy to over-light it, which will be bad for most plants.
You may also want to add a small (40mm) PC fan (with controller to adjust speed). The fan will keep the air moving to reduce mold. It will also encourage healthier growth in plants. However, some species don’t like much air movement, so know your plants’ culture requirements before buying a fan.
Let me know if you have any questions about anything in this tutorial.
If you found the article and video helpful, please consider clicking a share button below to spread the word to your friends and fellow hobbyists.


